
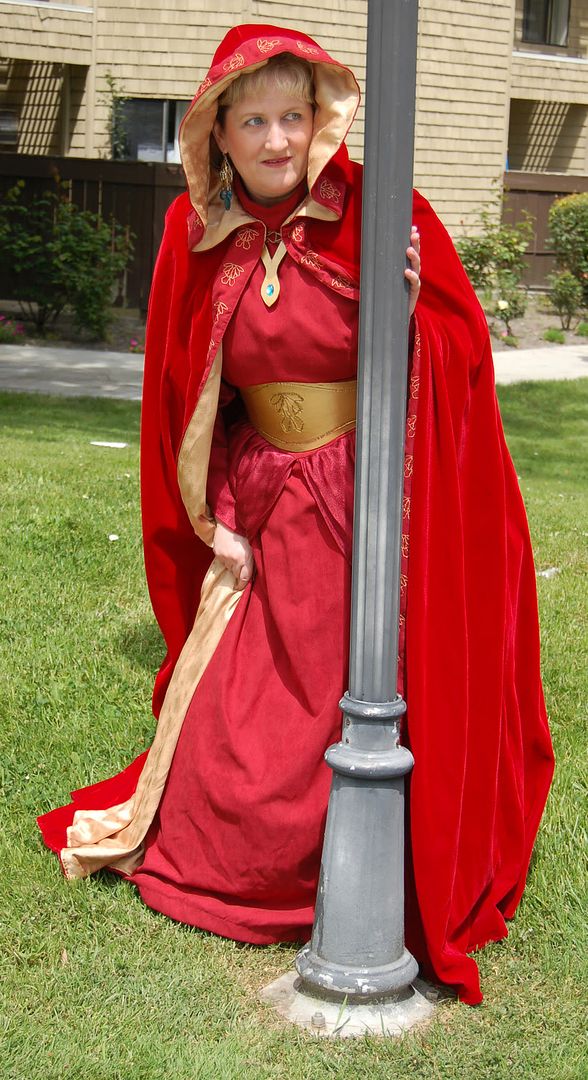
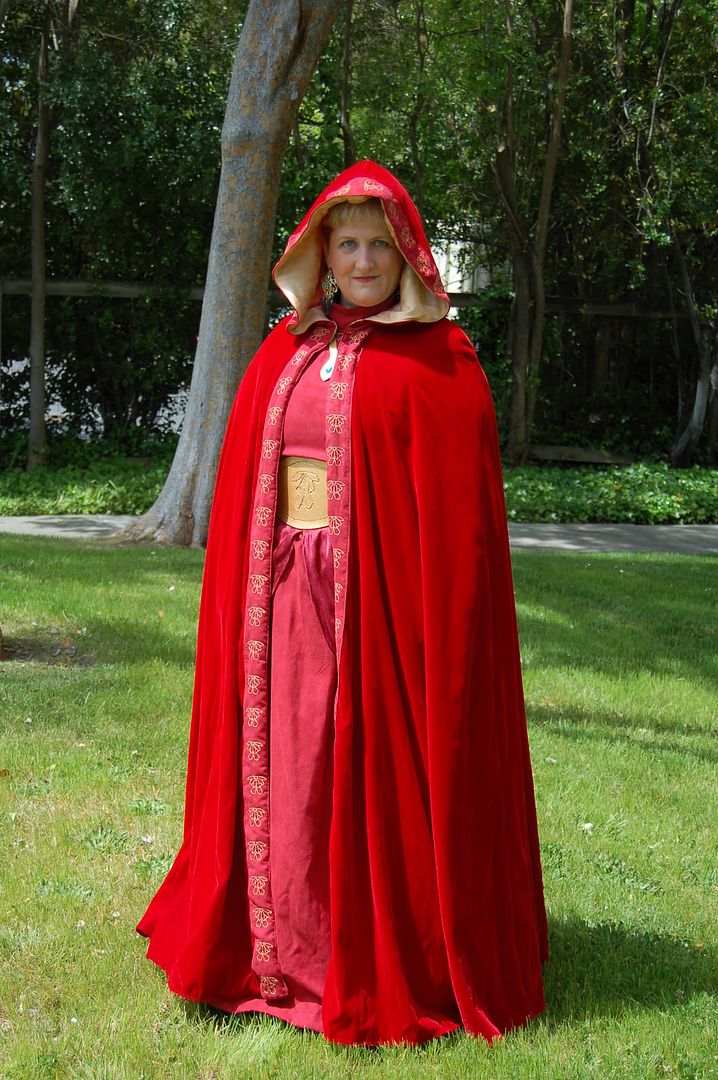
The Satine Saga is a much shorter story than the Luminara Chronicles. The huge trick to Satine was turning a cartoon character in to a real life character! Fabrics, and seams, and the vagaries of the human female shape do not limit cartoon artists.
All the credit for the fabrics goes to Robin, not me. All I said was, "Look at the Royalty Velvet Fire Engine Red, you'll love it" and the rest is history. Not without trouble in special ordering, though. But she also found costume suede cloth for the dress in a complementary shade of red. And to go even further, she found a silky fabric for the sleeves and drapes, and a matching gold silky solid for the lining.
When I opened the box of fabrics I thought they were so beautiful that I ought to take a shower before touching them... LOL
But I hated that lining. It was silky all right, and it slipped and slid all over the cutting table. Took me two tries to cut out the cape lining, and it never did match up correctly, in the end I was on the floor matching the bottoms up with a hand baste.
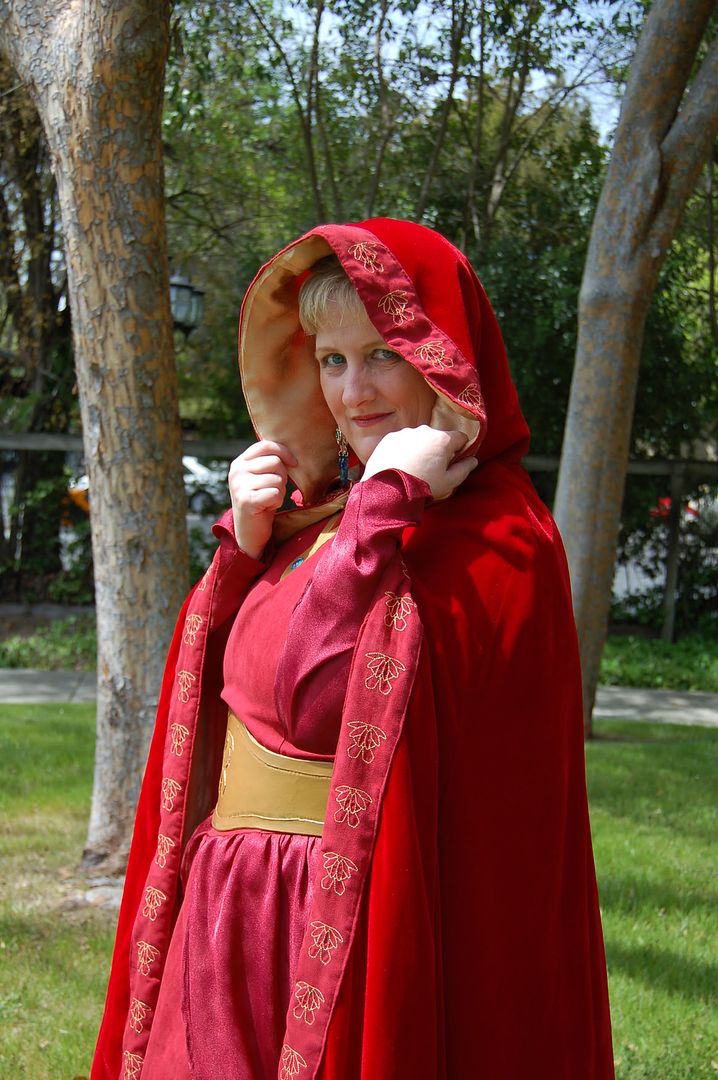
The embroidered motifs were done by a professional with a cool, computerized embroidery machine. All based on a sketch by Robin. All I did was make sure they were lined up in the front!
The cape was not the easiest thing to sew with that slippery lining, and with the double layer of fabric along the front edge.
The embroidered suedecloth along the front didn't want to stay still while I sewed it down. Everything wanted to slide to the left. I didn't know whether to curse the fabric or the sewing machine!
The dress went a bit easier, mostly because I made a muslin mockup first. I started with Simplicity 3723. view A, using the hip drapes from view C.
The first and most difficult alteration was the sleeves. They needed to be puffier below the elbow and then tight at the wrist. Took me a few tries, but I finally got it right.
The other alteration was to cut down the volume of the skirt. The pattern had two huge pieces called the "side back". I only used one, and lined up the side seams to help distribute the fullness evenly.
I also cut about 10 inches out of the center of the hip drapes.
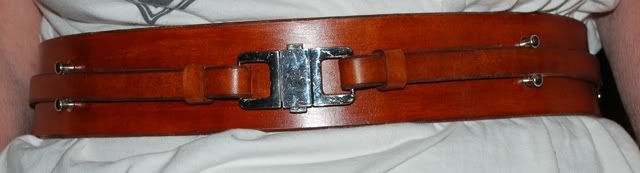
The belt was fairly easy; I made a paper pattern first and fit it to my dress dummy before cutting the leather. The motif I made by enlarging Robin's drawing in Photoshop until it was the proper size.


The cutting and carving was simple. I only used a smooth beveller to accent the design after it was cut.
The belt and the necklace leather was painted with gold Cova Color from Tandy Leather.
Robin herself found the hair comb and the beautiful earrings, and the spiffy red shoes to go with it.
All in all it was an interesting project, with a beautiful result!


1 comment:
Post a Comment