I gave up temporarily, and made the dickey that came with the pattern and wore it to C-IV. It looked good, but I wanted long, scrunched sleeves, too. So I came up with this idea, using a lightweight fabric and t-shirt. It keeps the layers of fabric to a minimum and doesn't add much weight to the overall costume, which is a concern when one lives in a hot climate!
It also makes it easy to have more than one under tunic for a minimal cost... it's nice to have a clean undershirt at a con when you're wearing your costume more than one say... or you could make one in a different color..... I always a picture a Jedi going to her closet each morning and deciding what combo of tans and browns to wear that day... LOL
This is much easier, faster and less expensive than making a whole separate under tunic, and in my opinion, a lot more comfortable to wear.
Materials:
1 plain cotton, V-Necked undershirt (Wal-Mart, 2-pack for $3.97)
A Dickey or Collar pattern. (simplicity 4450, 5840, 4080, for example)
A stretchy cotton fabric, such as gauze or a lightweight crinkle cotton. The amount depends on the amount needed to make the collar, and how big your sleeves are. You will have to lay out the pattern pieces and measure.
I used 1.5 yards of 44" wide crinkle gauze @ $5.99 yard.
Thread (of course) $1.79
Minimum sewing skills needed.
Time needed: About an hour, depending on how complicated your dickey/collar pattern is.
Make the Dickey or Collar as directed.
Pre-wash and dry the T-Shirt if it is new. Remove the sleeve hems and press the edges out smooth.


Measure around the sleeve. This is MEASURE A.
Put the shirt on and measure from the edge of the sleeve to your wrist.

This is MEASURE B
Measure your hand around the knuckles with your thumb tucked underneath. This should be the tightest space you can put your hand through while putting on the shirt.
(If you are using a stretch fabric, use your wrist measurement).

This is MEASURE C
Make a paper pattern for the sleeve tube. The top edge should be MEASURE A plus one inch. The bottom edge should be MEASURE C plus one inch.
The length down the center should be MEASURE B plus 7 or 8 inches. The sides are angled straight in.

If you cut this out crosswise, you may be able to use the selvage edge for the bottom edge and not have to hem it. If you do need to hem it, just turn it over 1/4" and stitch. Cut two.
***
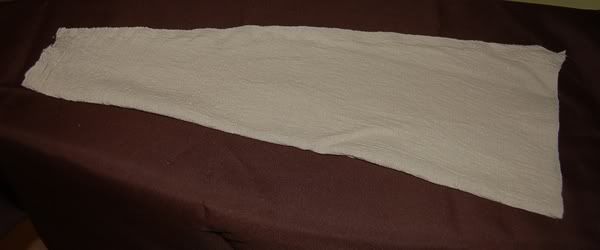
Take one piece, and stitch up the long angled side, right sides together to create the sleeve tube, using a half-inch seam allowance. You will end up with this.
Turn it right side out, and turn the T-Shirt inside out.
With right sides together, sew the sleeve tube into the T-shirt sleeve, using a half-inch or so seam allowance.

Repeat from *** for other sleeve.
Turn the shirt right side out and put it on!


Pull on the sleeve until the excess fabric is bunched around your wrist.

Put on your collar and pin it to the T-Shirt if desired. Velcro, snaps, or other forms of attachment will work, but attachment IS recommended.

Put on your Over Tunic and you look great!

3 comments:
What a great idea - thanks for posting such a great tutorial!
That has to be the easiest way I have seen to deal with the undertunic. I don't handle heat well and this allows me to use a very lightweight t-shirt.
Aya
Hey that tunic looks familiar...LMAO. And yes I'm too damn lazy to sign in, so I'm leaving an anonymous comment.
Post a Comment